

How to Connect Visual Studio Code with Salesforce
Visual Studio Code is recommended IDE for Salesforce development. In this post, we will learn about How to Connect Visual Studio Code with Salesforce. We’ll explore the features of VS Code, configure it, and customize it to use it as a powerful tool for Salesforce Development.
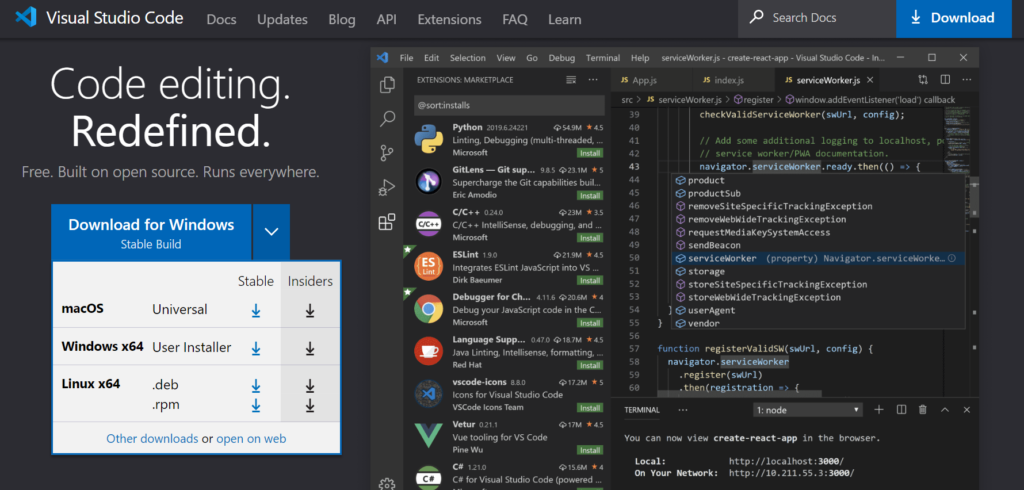
Download and Install VS Code
Download Visual Studio Code (VSCode) from this link and install it on your computer. Follow the provided setup instructions during the installation process.
Install the Salesforce Extension Pack on Visual Studio Code
Open your VS Code and click on the Extensions icon located on the left-hand side or press CTRL+SHIFT+X. Then, search for “Salesforce Extension Pack” and click on the install button.
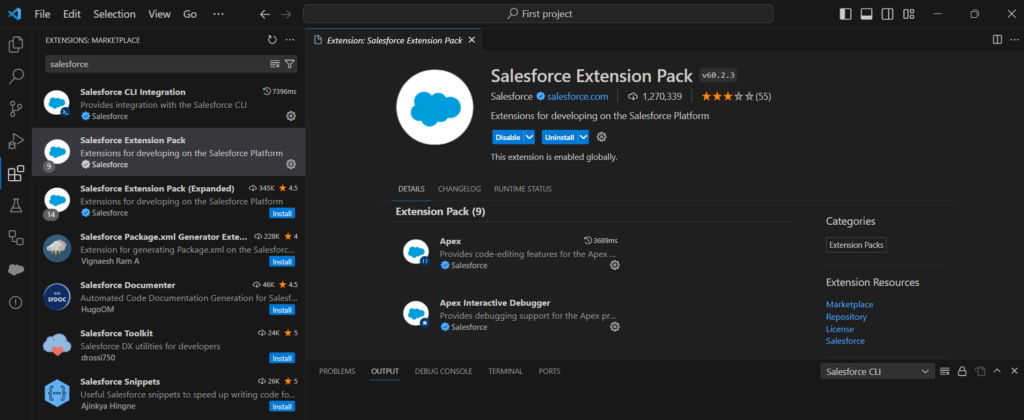
The Salesforce Extension pack automatically installs all the extensions listed below.
- Apex
- Salesforce CLI Integration
- Apex Interactive Debugger
- Apex Replay Debugger
- Visualforce
- Aura Components
- Lightning Web Component
Create Salesforce Project
Up to this point, your software setup is complete. Now it’s time to initiate your first project in VS Code. To begin, open the Command Palette or press Ctrl + Shift + P. Then, type “SFDX: Create Project” to create the project.

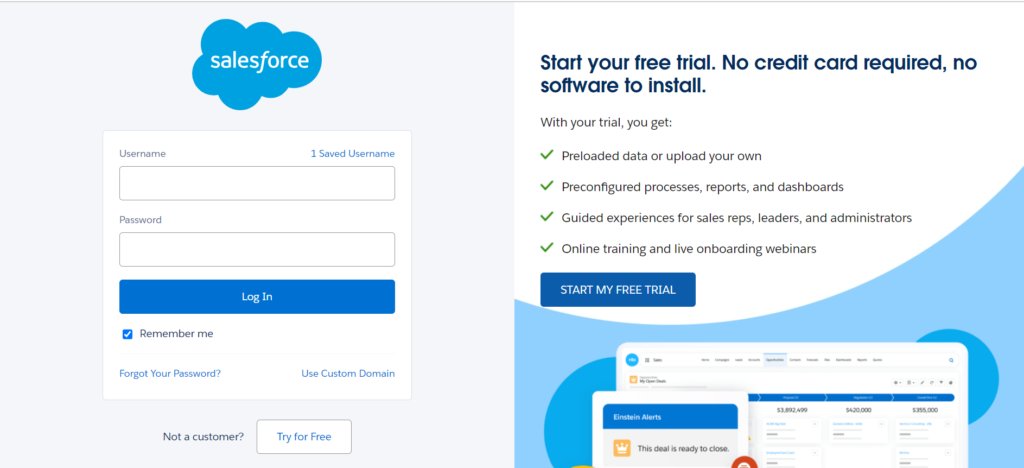
Establish a connection with your Salesforce Org: Authorize your Org
Our project is prepared on our local machine; now it’s time to link our VS Code with Salesforce. Once more, open the Command Palette or press Ctrl + Shift + P. This time, we need to either type or select “SFDX: Authorize an Org

Subsequently, it will prompt you to select the environment to which we want to establish a connection.

During the final step, you’ll be required to furnish the organization’s alias name. Subsequently, it will direct you to your default browser and prompt you for your organization credentials.
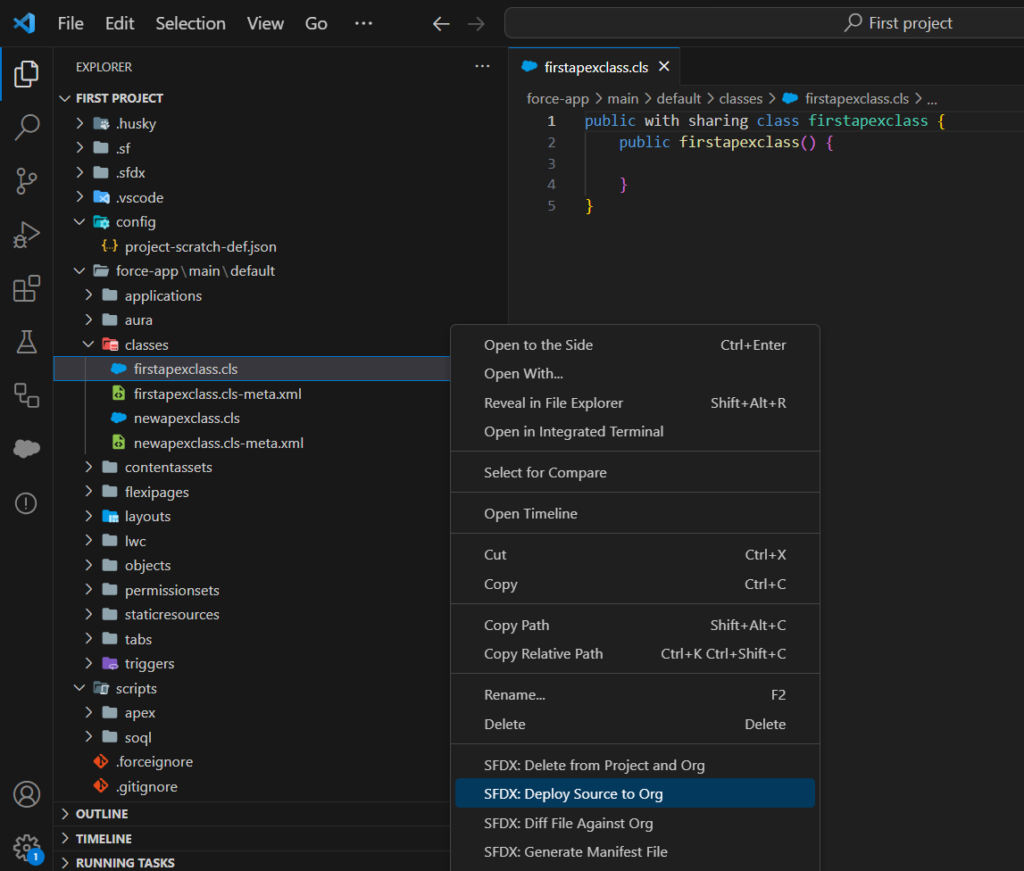
Create Salesforce Apex Class

Utilize Visual Studio Code to deploy components.
Select the Class which you want to deploy in your org. Then Right click on Vs Code and select the “SFDC: Deploy This Source to Org” option for deployment.
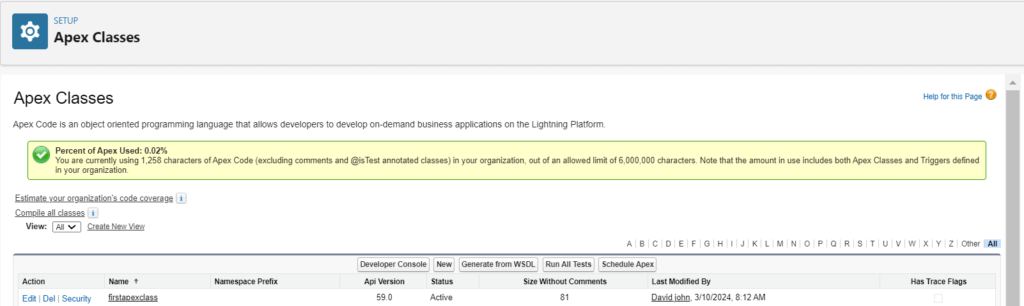
View the newly created class in your organization.
How to Connect Visual Studio Code with Salesforce : Let’s do it!
Tag:Configure VS Code for Salesforce, Deploy Salesforce Components with VS Code, Salesforce Apex Class in VS Code, Salesforce Development with VS Code, Salesforce Integration with VS Code, Salesforce Org Authorization in VS Code, Visual Studio Code Salesforce Setup, VS Code for Salesforce Developers, VS Code Salesforce CLI Integration, VS Code Salesforce Extension Pack
You may also like

Salesforce FAQs

