
How to Create Case Assignment Rules
Case assignment rules offer an efficient way to automatically assign case records. Understanding their capabilities can streamline user interactions and accelerate business processes when handling cases. These rules are configured within the Setup section of Salesforce. Let’s explore how to create a case assignment rules.
Before delving into the creation process, it’s crucial to grasp the concept and functionality of assignment rules. In Salesforce, assignment rules are predefined sets of criteria dictating the allocation of cases to either users or queues.
As an illustration, you can establish a rule directing all cases of a particular type to a designated support queue.
- Case Assignment Rules govern the allocation of Salesforce cases, playing a critical role in customer support by directing incoming cases to agents or teams possessing the expertise to address particular issues.
Setting Up Assignment Rules in Salesforce
Here’s how to create assignment rules in Salesforce:
- Access Setup: Log in to your Salesforce account and go to the Setup menu located in the top-right corner.
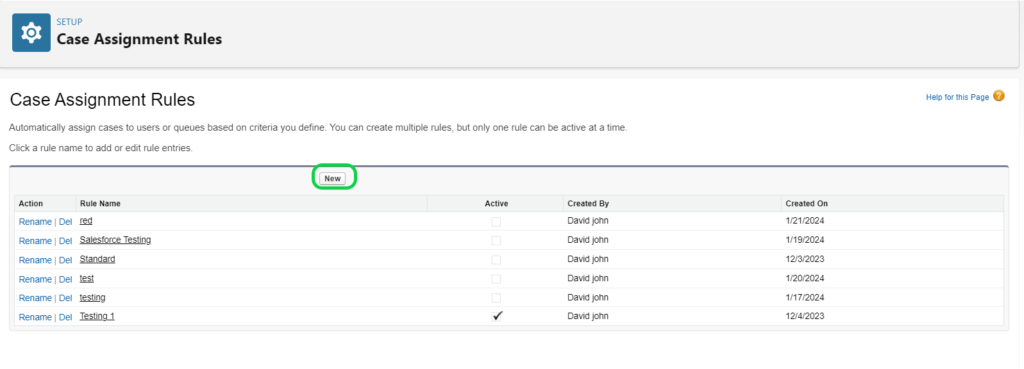
- Search for Assignment Rules: In the Quick Find box, type “Case Assignment Rules” and select the corresponding option.

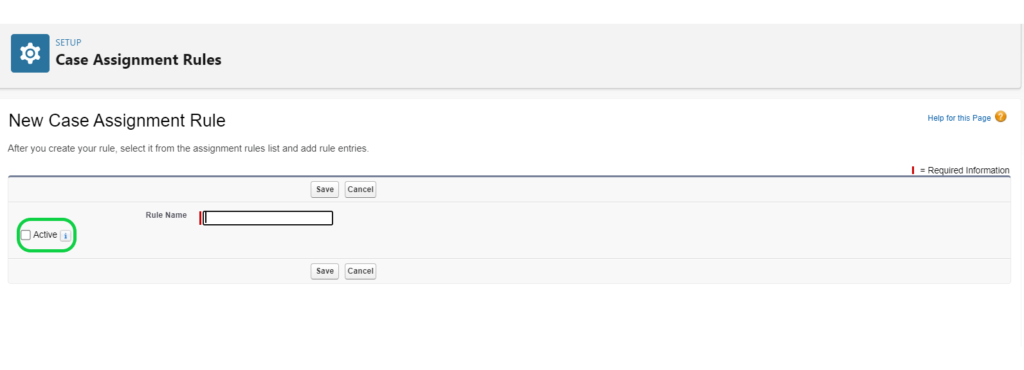
- Generate a new rule: Select “New” to initiate the creation of a new assignment rule.
- Enable the rule by ticking the ‘Active’ box and then save your changes.
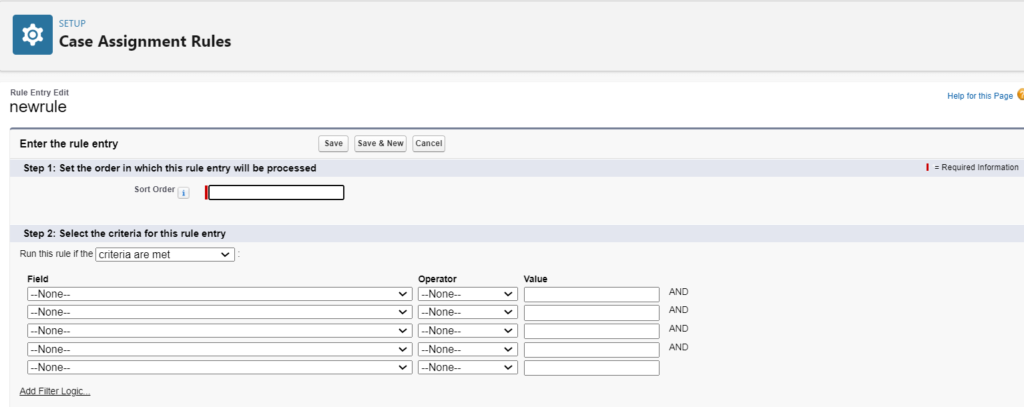
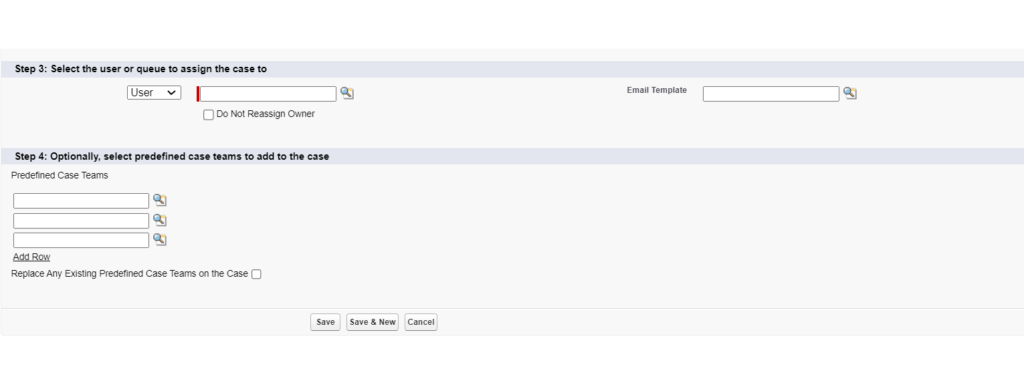
- Set rule criteria: Define the conditions that will activate the rule. You can establish multiple criteria by selecting the “Add Row” button.
- Define the assignment by specifying the user or queue to which the case will be assigned when the criteria are met.
Tips and Tricks for Creating Assignment Rules in Salesforce
- Test in Sandbox: Before applying assignment rules to your production environment, test them in a sandbox. This helps you avoid glitches and inaccurate data in your live system.
- Use Custom Formula Fields: Simplify complex assignment rules by leveraging custom formula fields. For example, you can use them to categorize states by regions.
- Implement Round Robin Assignment: To prevent bottlenecks, use round robin assignment rules. This method distributes new cases or leads evenly among users or queues, ensuring each receives an equal share before the process starts over.
- Create a Final Rule with No Criteria: Add a final rule entry with no criteria to capture and assign any records that don’t match your defined conditions. This helps ensure no records are left unassigned.
How to Create Case Assignment Rules : Let’s do it!
You may also like

Salesforce FAQs
March 19, 2025


Top 10 Salesforce Influencers to Follow
May 10, 2024