Set up a Salesforce Digital Experience Platform
Below are detailed guidelines for establishing a fresh Site (Digital Experience) and configuring it effectively in Salesforce. Lets start to set up Salesforce digital experience.
1. Navigate to the Setup page and locate “Digital Experiences” through the search function.
2. Access the Settings section.
3. Activate the option for enabling Digital Experiences.
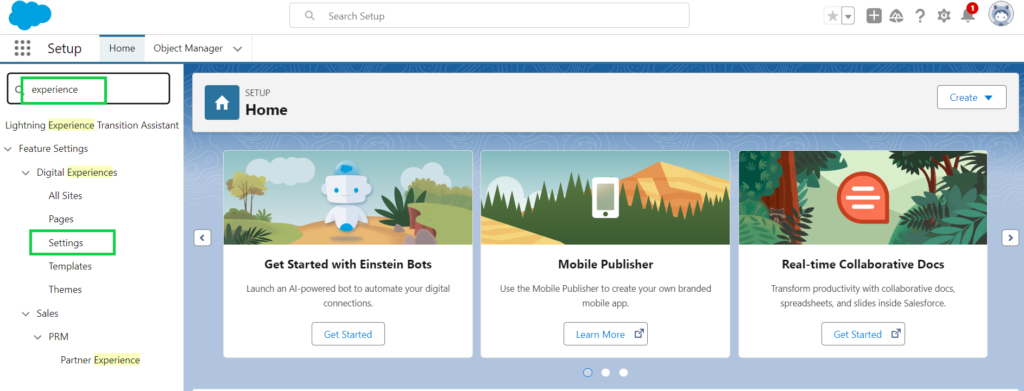
4. Once you’ve enabled the Digital Experiences option, you’ll need to choose a domain name.
5. Choose a domain name, such as “choice”, and proceed to check its availability.
6. If the selected domain name isn’t available, opt for an alternative one.
7. Finally, click on the Save button to confirm your selection.
8. Press the OK button within the confirmation dialog box.
9. You’ll be directed to the All Sites page.
10. If not, navigate to Setup, locate All Sites within the Digital Experiences section, and select it.

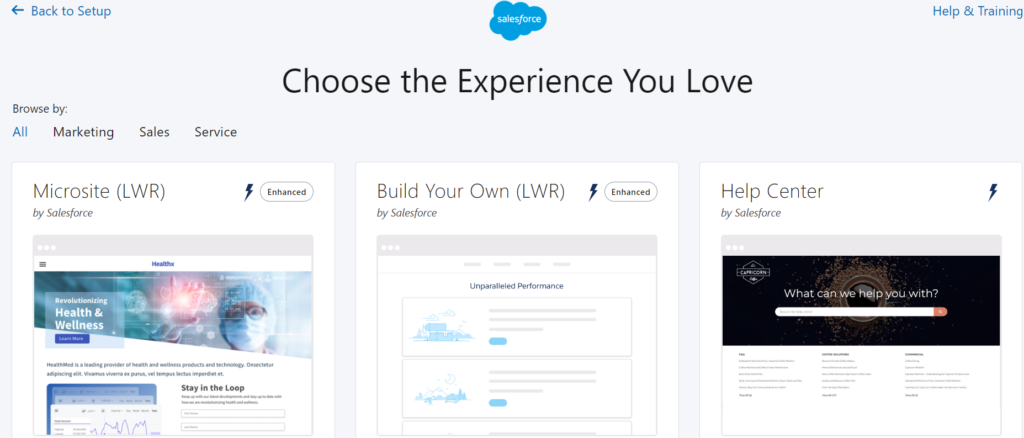
11. To set up a Salesforce Digital Experience Site, start by clicking on the “New” button to initiate the creation of a fresh site. Upon doing so, you’ll be presented with various template options suitable for your site’s design.
12. Next, opt for the “Build Your Own (Aura)” choice by clicking on it.
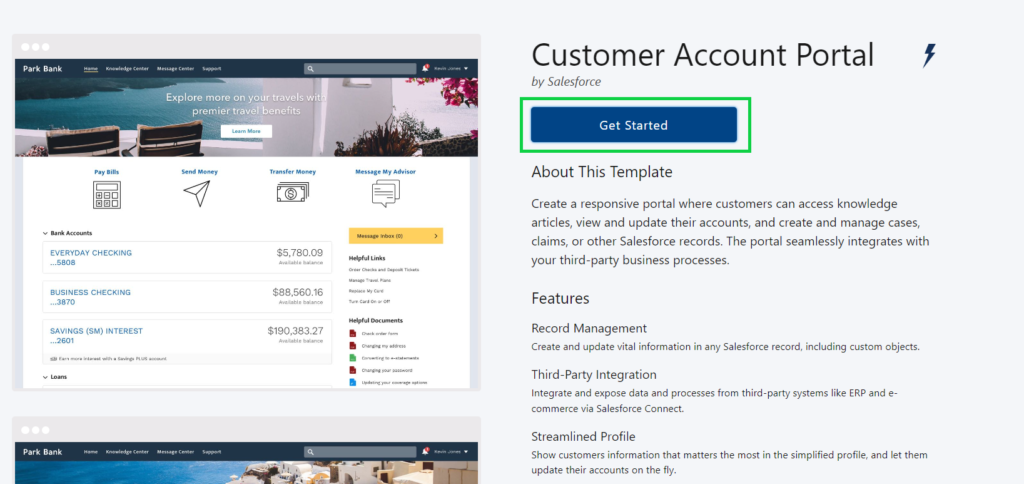
13. Begin by selecting “Get Started”.
14. Specify your desired name (e.g., “Ultra Logix”) and proceed to click on the Create button. After a brief period, you’ll be directed to the Site Workspace page.
- You have the option to input a URL prefix (while not compulsory if it’s the initial site in the organization, it’s advisable to assign a relevant prefix, such as SalesforceMamba).
15. Navigate to the Site Workspaces page and select the Builder option.
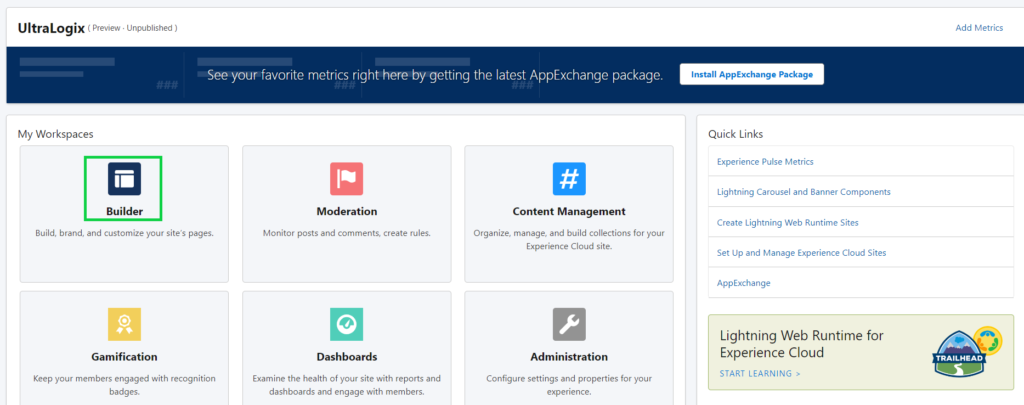
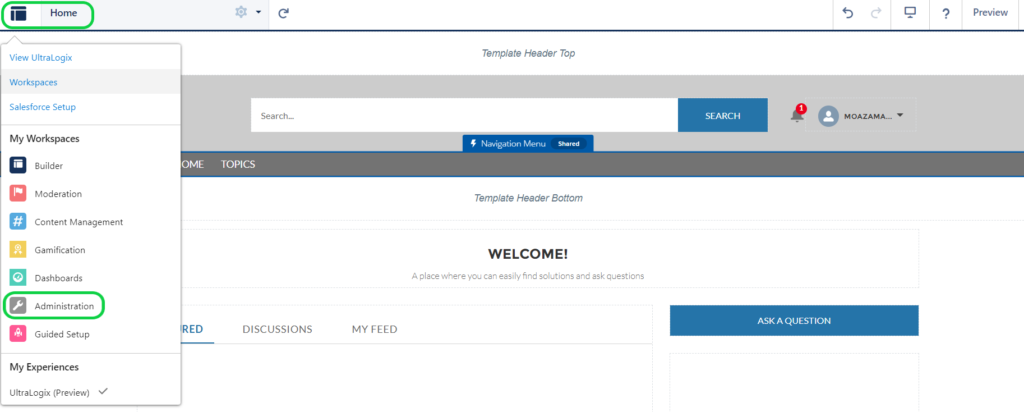
16. Select the icon located at the upper left corner >> navigate to Workspace >> proceed to Administration
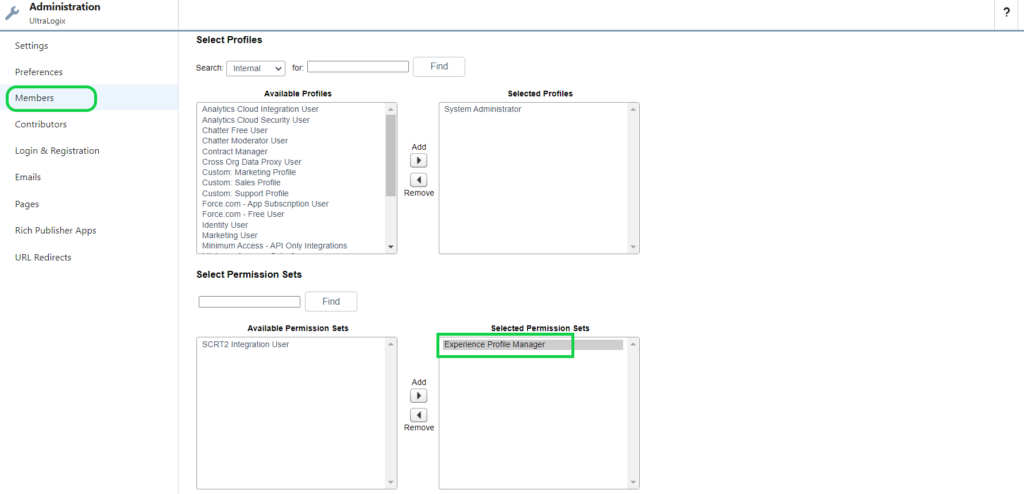
17. Select “Members” and allocate permission sets from the provided list by moving them to the “Selected Permission Sets” box. Once completed, remember to save your modifications.
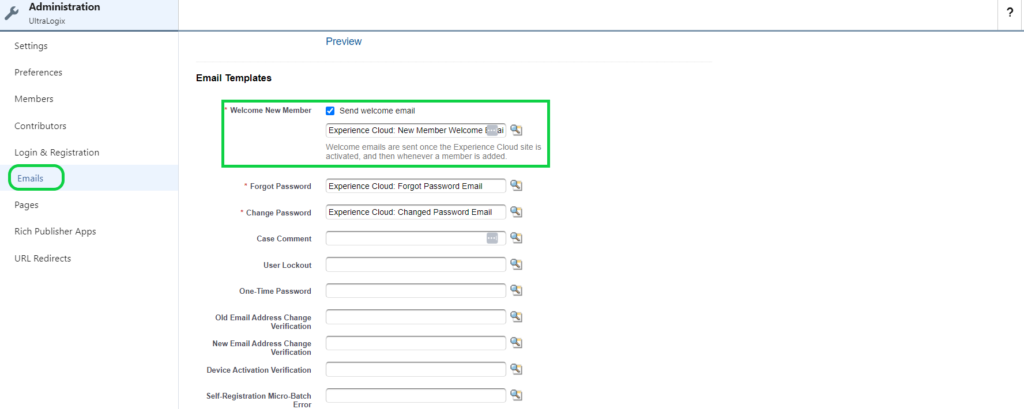
18. To set up a Salesforce Digital Experience Site, if you prefer that a user joining the community doesn’t receive the welcome email, you can deactivate the sending of welcome emails, as demonstrated below.
Implement alterations to the Experience Site and then make them publicly accessible
- At the top right corner of the builder page, locate the publish button and proceed to click on it.
- After clicking, a dialog box will appear prompting you to confirm your action.
Activate the Experience Site
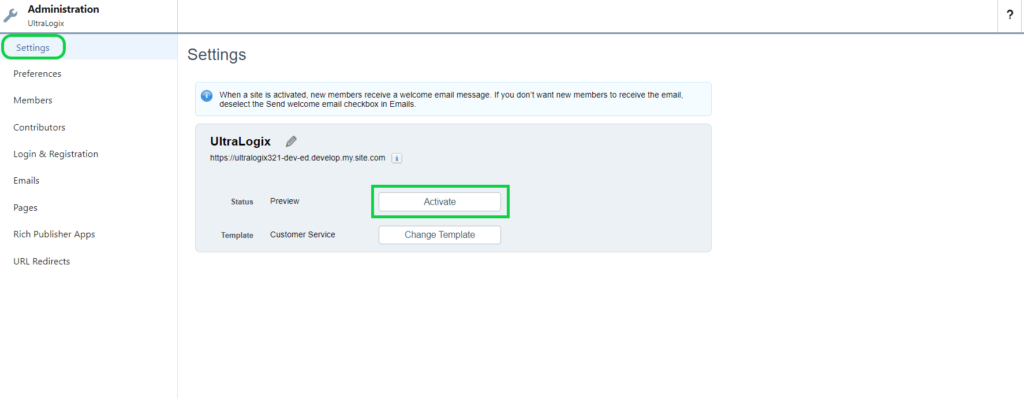
After completing the site setup, return to the site workspace and navigate to Administration >> Settings to enable the site, following the steps illustrated below.
Setting up a Salesforce Digital Experience Video Tutorial
Create a New Experience Site in Salesforce
Also
➡️ Lightning App in Salesforce
➡️ Recurring Tasks In Salesforce Lightning




1 Comment